I first met Reston resident Valeriya Chunikhin through her gorgeous photography on Instagram. Interspersed among her photos of travel, nature, and fashion are images of the amazing macarons that she makes herself. I had always assumed that macarons are too tricky for me to attempt, but Valeriya creates these beautiful French cookies even though she isn’t a professional baker. I figured that if she could do it, so could the rest of us.
Valeriya generously agreed to share her secrets of how to make macarons. They would make for a beautiful surprise for your Valentine, or just a fun activity to do with your family. As an added bonus, macarons are naturally and deliciously gluten-free.
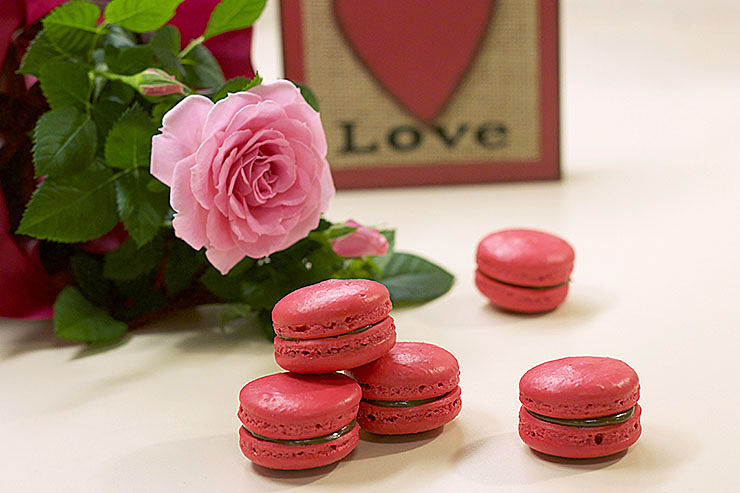
Homemade macarons are a tasty, thoughtful, and unexpected Valentine’s Day gift.
How to Make Macarons
Article and photos by Valeriya Chunikhin
Valentine’s Day is right around the corner, and all the stores are offering all kinds of heart-shaped candies, muffins, cakes and lollipops. How about making this year a little bit classier and giving it a taste of Paris? Yes, I’m talking macarons, these colorful pieces of heaven that make you fall in love from the first bite. I know people who don’t like chocolate, cupcakes or fruit tarts, but I have never met a person who doesn’t like macarons.
Even though I like to bake, it took me a while before I dared to make my very first batch of macarons.
“Age the egg whites for minimum 3 days” – who’s got time for that?
“Stir the batter until it has hot lava consistency” – I travel a lot, but I have never seen hot lava so I can’t compare.
To be honest, these recipes intimidated me until at some point I decided to roll my sleeves up and give it a try.
Now that I’ve done it many times, I can say that making macarons is not a rocket science for sure, but you need to be patient and determined. There were times I cried over a tray of pink cracked shells, and there were times when I was jumping like an Easter Bunny when I took perfectly round and smooth cookies out of the oven. I’m sharing my recipe below and I’m sure with a little bit of practice and inspiration you will become great at baking macarons in no time. Ok, at some point. 🙂
For the shells (makes 48)
Kitchen scale (it’s very important to measure correctly. Substitutions are not an option either).
Hand or stand mixer
Sifter
4 oz almond meal/flour
7 oz powdered sugar
4 oz egg whites (you don’t have to age them, but they have to be room temperature)
3.5 oz regular sugar
Pinch of crème of tartar
Gel food color of the choice (optional)
Sift the almond meal together with powdered sugar. I do it at least twice to make sure my mixture is fluffy, airy and does not have any lumps.
In an aluminum bowl (because your egg whites want the bowl to be cold) start whisking egg whites with your hand or stand mixer. Once they start getting foamy, add regular sugar and continue beating. When the texture becomes creamy, add the desired gel color and keep beating until hard peaks. How do you know your peaks are hard? If you can keep the bowl with the merengue upside down and your merengue does not try to escape– that’s the right texture. Be careful not to overbeat though – check few times and stop as soon as the needed texture is reached.
Use spatula and incorporate the almond/sugar mixture into the merengue with circular motions. The batter will seem stiff at first, but as you keep incorporating, you will see the merengue starts getting more liquid and will easily take all the almond mixture in. Stir until the batter is smooth and there are no air pockets.
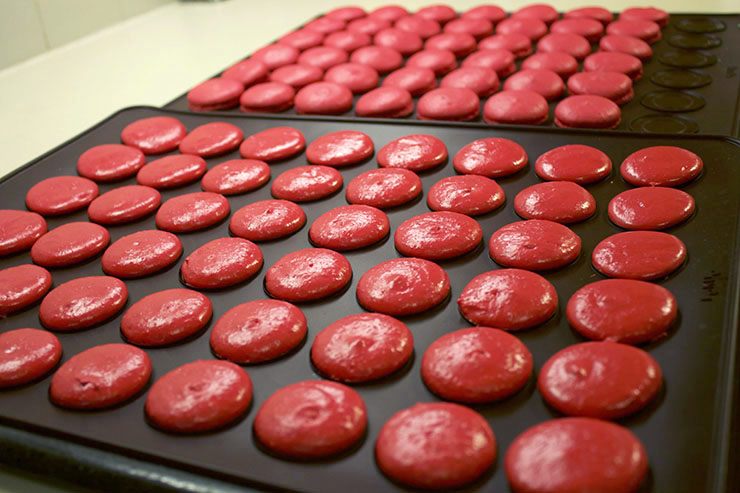
Pre-heat your oven to 300F. On a baking tray place the silicon mat (you can also use parchment paper, but I’ve never done it, so cannot speak much to it), transfer the batter to the piping bag and start piping out holding your piping bag strictly perpendicular to the tray. Truth be told, it’s nearly impossible to get all your shells evenly sized if you don’t use the template. I am using Lekue kit as shown below, but you can just print a sheet of paper with circles on it and place it under your mat or parchment paper before piping out:
Don’t get frustrated if your shells have little peaks on top. Bang the baking tray hard against the counter few times to allow the extra air bubble come out and your shells will flatten out. Place the tray to rest for about 30-35 minutes to allow the skin to form. Once you can lightly touch the shells with your fingertip without leaving the dents, they are good to go in the over.
Baking time really depends on your oven. I am baking them for 19-20 minutes at 295F. If the shells start getting golden – you had them in the oven for too long or the temperature was too hot. This is where you ill have to experiment some to figure out the right temperature/time ratio for your oven. Take the shells out of the oven and let them cool down completely before removing them from the tray.
Macaroons shells after baking
For the filling
The sky is the limit. Nutella, fruit preserves, chocolate sauce, cream cheese with fruits or berries – you name it. My favorite one is mascarpone with a bunch of fresh berries and 2 oz of powdered sugar whisked together.
Fill the shells with the filling of your choice. Macarons are best enjoyed the next day, when the shells take the moist from the filling giving you the crunchy skin and soft inside.
The best thing about macarons is that you can make them ahead and freeze them for up to 4 months. Just take them out of your freezer 20 minutes before serving – et voilà.
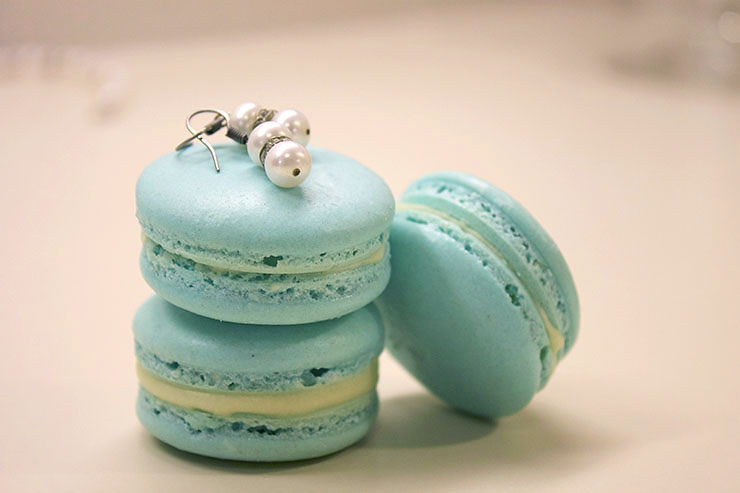
Tiffany-colored macarons are a creative companion to a gift of jewelry.
As you can see macarons are not the easiest thing in the world to make, but not the most difficult one either. It does require practice, determination and patience but you will be rewarded with delights and accolades of everyone who is lucky to get this pure happiness made in your kitchen – and for me it makes all the hassle worthwhile.
Or you can always contact me and I will be happy to bake you a batch! I’m also happy to answer any questions you might have while baking.
My Instagram account: instagram.com/valerjanka
My Blog: supertheoryofeverything.com
Bon Appétit!
Thank you, Valeriya, for the excellent instruction and inspiration! I will absolutely try this recipe. If any of you try it, too, please share your photos with us on Instagram. We’d love to see what you create. And if you would like to write a guest post for Modern Reston, please get in touch with us at [email protected].
Related stories:
A Mouth-Watering Tour Through Edibles Incredible Desserts — Just in Time For Valentine’s Day!
Valentine’s Day Flowers: Creative Alternatives for the Standard Dozen Red Roses
Cookology Culinary School Turns Up the Heat with an Aphrodisiac Menu for Valentine’s Day
Pingback: Macarons: My Latest Obsession – Supertheory Of Everything()